
leave a message
If you are interested in our products and want to know more details,please leave a message here,we will reply you as soon as we can.
A solar ground mounting system is the fastest way to turn open land into a power plant. Whether you are a developer planning a utility-scale ground solar array or a landowner with spare acreage, the racking under the modules decides how much energy the site produces, how long it lasts and how much it costs to maintain. This guide explains how a modern solar ground mounting system is designed, which components matter, how ground mount solar installation is carried out step by step, and what drives the final cost.
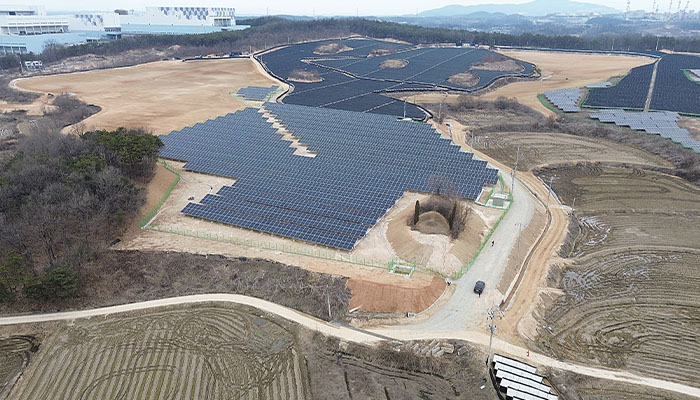
A solar ground mounting system is a steel structure aluminum structure that fixes photovoltaic modules to the ground instead of a roof. It combines foundations, vertical posts, tilted rails and module clamps into one engineered assembly that resists wind uplift, snow load and frost movement while holding each panel at the ideal angle to the sun. Because the structure is independent of any building, a ground solar array can be sized, tilted and oriented purely for energy yield — which is why ground solar installation now dominates utility-scale and community solar projects worldwide.
Two families of design cover almost every project. A fixed tilt ground mount locks the array at a single angle and offers the lowest cost per watt, the least maintenance and the simplest permitting. A single-axis tracker rotates the array from east to west and adds roughly 15–25% more energy, at the price of motors, controls and a heavier foundation. Both use the same basic racking logic, so the choice is an economic one rather than a technical limit.
Every solar ground mounting project is built from the same set of parts. Specifying them correctly is what separates a 25-year asset from a maintenance liability.
A well-run ground mount solar installation follows a predictable sequence. Skipping a step is what causes pile pull-out, cracked modules and warranty disputes later.
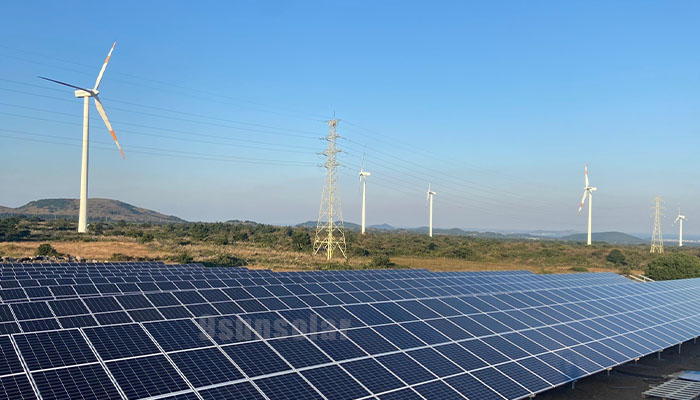
Ground solar installation is not one price. Foundation type, steel weight, terrain and interconnection distance move the number far more than the modules themselves. Flat, well-drained land with competent soil allows driven piles and light racking; rock, high frost depth or steep slopes force concrete piers or ballast and heavier profiles. Wind and snow load maps set the steel gauge, and permitting plus grid connection can add weeks to the schedule. Because the racking is a modest share of total project cost but controls the output for decades, the cheapest structure is rarely the cheapest project — specifying to the site is what protects the investment.
Depth is set by the geotechnical report, not by habit. As a rule, piles are driven below the frost line and to a capacity that resists the site wind uplift; ground screws are installed to a torque value that proves bearing.
Latitude is the starting point, then terrain and snow shedding adjust it. Lower tilt raises row density and cuts land use, higher tilt improves winter output — the optimum is the tilt that maximizes energy per unit of land, not energy per panel.
Yes. North-south slopes are handled with stepped post lengths, east-west slopes need rows split into sub-arrays. Slopes up to roughly 20% are routine; steeper sites need longer piles and a custom structural review.
For a commercial-scale ground solar array, foundations and racking typically take two to four weeks, module and electrical work another two to three weeks, with weather and permitting as the main variables.
From fixed tilt ground mount racking to tracker-ready structures, 9Sunsolar engineers solar ground mounting systems around your soil, wind load and module type — with hot-dip galvanized steel, fasteners and clamps that match the site. Send us your layout or land data and we will return a complete bill of materials for your next ground solar installation.
Signup our newsletter to get update information, promotion and insight.


 IPv6 network supported